logo
Inicio

Blog ACERCA DE How to Prevent Amplifier Board Overheating: Causes, Warning Signs, and Proven Cooling Solutions

Certificación
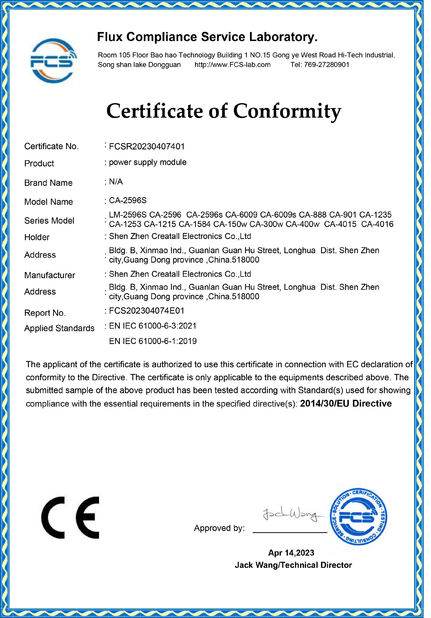
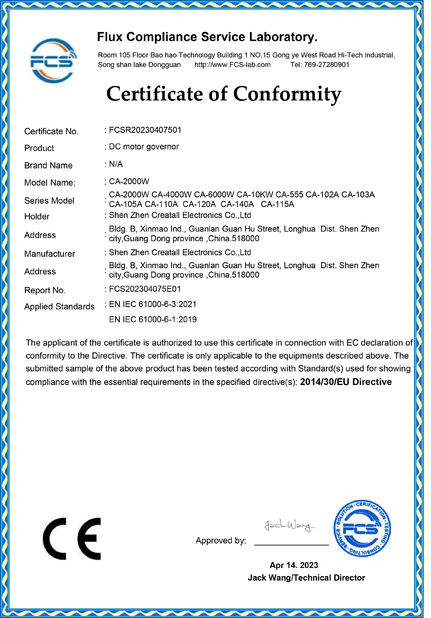
Porcelana Shenzhen Creatall Electronics Co., Ltd. certificaciones
Comentarios de cliente
¡Los grandes productos de un buen proveedor, mercancías están trabajando agradable el ⭐⭐⭐⭐⭐ que ordenaré otra vez para agradecerle!

—— Regalo Adonsi

Recibí mi paquete a tiempo que todo fue hecha bien sobre tablero el vendedor era muy útil. La calidad del producto es muy buena. No vacilo hacer negocio con ellos otra vez.

—— De todos modos Violah

comunicación de la sincronización perfecta n perfecta en la información de producto perfecta encendido después de ayuda de las ventas perfeccione en tiempo de envío

—— Ismail Khamis

El módulo de la calidad tan buena es proporcionado por el vendedor. Y fácil comunicar la respuesta muy rápida también.

—— Sayanik Mandal

¡Un qué buen servicio del creatAll, muy responsable! ¡Buen trabajo! Agradable tener un negocio con u

—— Erick Setiawan

Estoy en línea para chatear ahora
Compañía Blog
How to Prevent Amplifier Board Overheating: Causes, Warning Signs, and Proven Cooling Solutions
últimas noticias de la compañía sobre How to Prevent Amplifier Board Overheating: Causes, Warning Signs, and Proven Cooling Solutions

Why Amplifier Boards Generate Heat

An amplifier board's job is simple in principle: it takes a small input signal and makes it powerful enough to drive a loudspeaker. The catch is efficiency. No amplifier converts 100% of its electrical input into sound—the remainder is released as heat. In Class A and Class AB designs that leftover energy can be substantial, and on a tightly packed board it has nowhere to go. Even efficient Class D boards produce heat when they push high power into low-impedance loads for long periods. When heat builds faster than it can escape, component temperatures climb, performance drifts, and the board eventually fails.

The Most Common Causes of Overheating

  • Undersized heatsinks. A heatsink that is too small for the delivered power simply cannot move enough heat away from the output devices.
  • Poor thermal contact. Missing, dried-out, or unevenly applied thermal paste traps heat at the junction instead of transferring it to the heatsink.
  • Obstructed airflow. Enclosures with no vents, filters clogged with dust, or fans mounted the wrong way starve the board of cool air.
  • Impedance mismatch. Driving speakers below the rated impedance draws more current and dramatically increases heat output.
  • Continuous high output. Running near maximum power for hours on end leaves no thermal headroom for peaks.
  • High ambient temperature. A board rated for 25 °C will run much hotter inside a hot rack or a sealed cabinet.

Warning Signs You Should Never Ignore

  1. Heat you can smell — a hot, resinous or burning odor is the clearest early warning.
  2. Thermal shutdowns where the amplifier cuts out and recovers after cooling.
  3. Distortion or crackling that appears only after a few minutes of play.
  4. Discolored or blistered PCB around the output devices and power resistors.
  5. Swollen capacitors or heat-stressed solder joints near hot components.

Practical Ways to Prevent Overheating

Problem Practical Fix
Weak airflow in the enclosure Add intake and exhaust vents, use a quiet 12 V fan with a dust filter, and keep vents unblocked.
Heatsink too small Upsize the heatsink or switch to an extruded one with a larger surface area and taller fins.
Dry thermal interface Reapply a thin, even layer of quality thermal paste; use silicone pads where isolation is required.
Running below rated impedance Match speaker impedance to the board's specification and avoid paralleling speakers carelessly.
Sustained full power Leave 20–30% power headroom and avoid long sessions at maximum gain.

Choosing the Right Heatsink and Thermal Interface

As a rule of thumb, allow roughly 1–2 square inches of heatsink surface per watt of continuous dissipation, and more in enclosed spaces. Attach the heatsink with even pressure, insulate the interface with a mica or silicone pad when the tab is live, and never reuse old paste. A small thermal trip or temperature sensor on the heatsink adds a reliable safety net.

Installation and Operating Best Practices

  • Mount the board so heat can rise away from the outputs; keep it off carpet and insulated surfaces.
  • Separate heat sources—regulators, transformers and output stage—and give each its own airflow path.
  • Keep the inside of the enclosure clean; vacuum filters every few months.
  • Test at moderate volume first, then monitor the heatsink temperature during a real workload.

Frequently Asked Questions

Is a warm heatsink normal? Yes—it should be warm, but you should be able to touch it briefly. If it is too hot to hold, add cooling.

Do I need a fan on a Class D board? Often passive cooling is enough, but high-power or enclosed builds benefit from forced airflow.

Can overheating damage the board permanently? Repeated thermal stress shortens the life of capacitors and output devices, so fix the root cause early.

Tiempo del Pub : 2026-09-23 09:59:06 >> Lista del blog
Contacto
Shenzhen Creatall Electronics Co., Ltd.

Persona de Contacto: Miss. Alva Cheng

Teléfono: +86-13827494627

Fax: 86-755-85270755

Envíe su pregunta directamente a nosotros (0 / 3000)